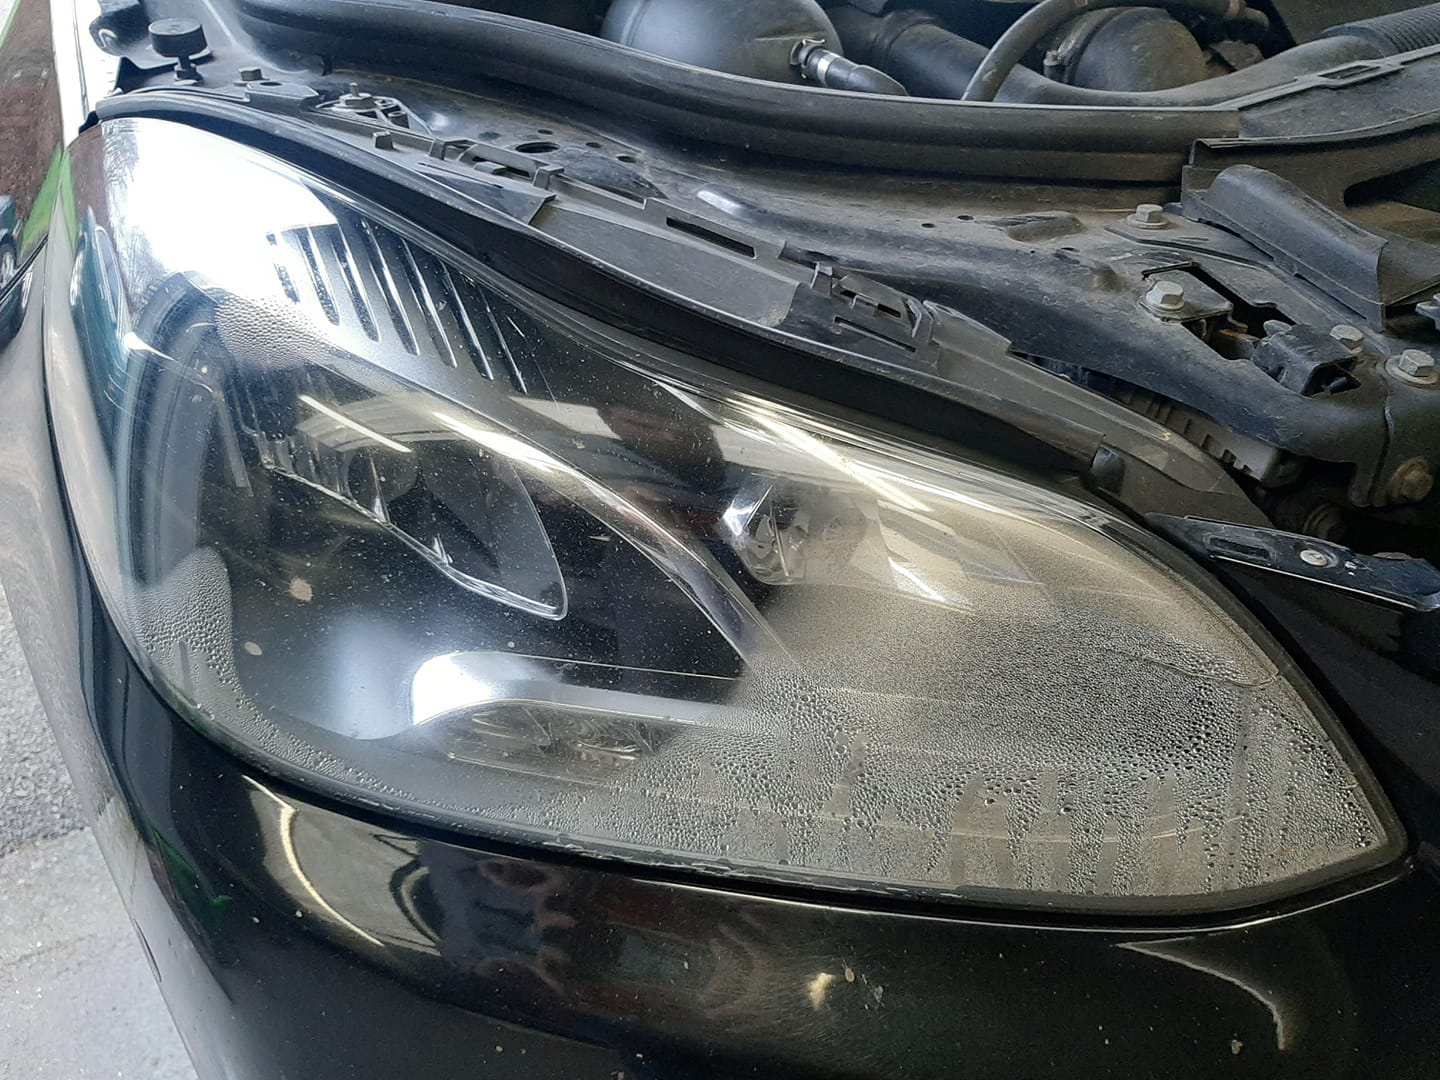
A light knock on the headlamp can result in a cracked lens – this is not good with modern headlamps as the electronics inside will get wet and eventually lead to failure of the control units and / or the actual lamp itself. As an example, in the case of the W212 facelift with option code 641, Dynamic LED Headlamps, there is a control unit, voltage converter unit and the LED electronics of the headlamp itself! It will only take a little bit of dampness to render the units useless.
Other reasons for replacement can be due to dulling or ‘clouding’ of the lens that occurs as cars get to higher mileages. It is possible to polish most headlamp lens’, however replacement gives a ‘new’ look and will certainly last longer.
Depending on the spec of your E Class, a replacement headlamp can be in excess of £1000! Rather than spending your hard earned on a new unit, consider this first…!
Most car manufactures, including Mercedes-Benz, do not recommend the replacement of a vehicles headlamp lens as they are a sealed unit from the lamps manufacturer – however – this doesn’t mean it can’t be done!
Courtesy of a chap on the Facebook W212 Owners Group – JJ Doyle, a few pics and tips for replacement of the lens;
Firstly, getting the lens. You can’t buy them from Mercedes-Benz as they are just not available as a spare part. A basic search of ebay shows that many sellers have them available. I must stress that anything thats not available genuine but can be found elsewhere, is almost certainly going to be a copied part. It may be that it requires minor modification to fit, but given the scenario of a £1000+ for a headlamp, trying this first is worth a go!
If you have a pre facelift version, be sure to get the right versions. A few specific listings i have found as below. Some come from china etc so be careful with that for delivery times!
Removal of the headlamp requires the bumper to be removed, but only on 1 side fully.
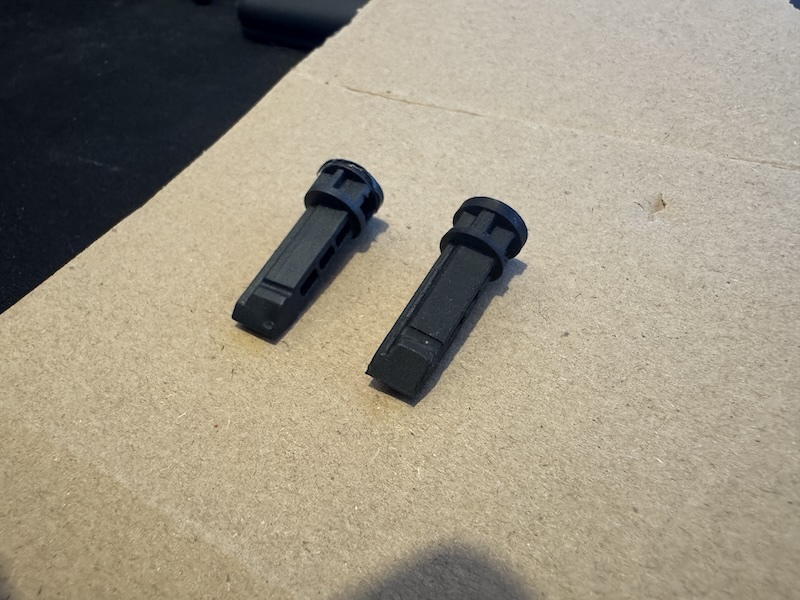
2 plastic screws in wheel well
2 10mm bolts behind the wheel arch liner.
2 plastic screws under front splitter,
1 8mm bolt in middle.
On top, there are 3 torx head screws attaching it to front panel.
Once the bumper is off the headlamp can be disconnected and unbolted / removed.
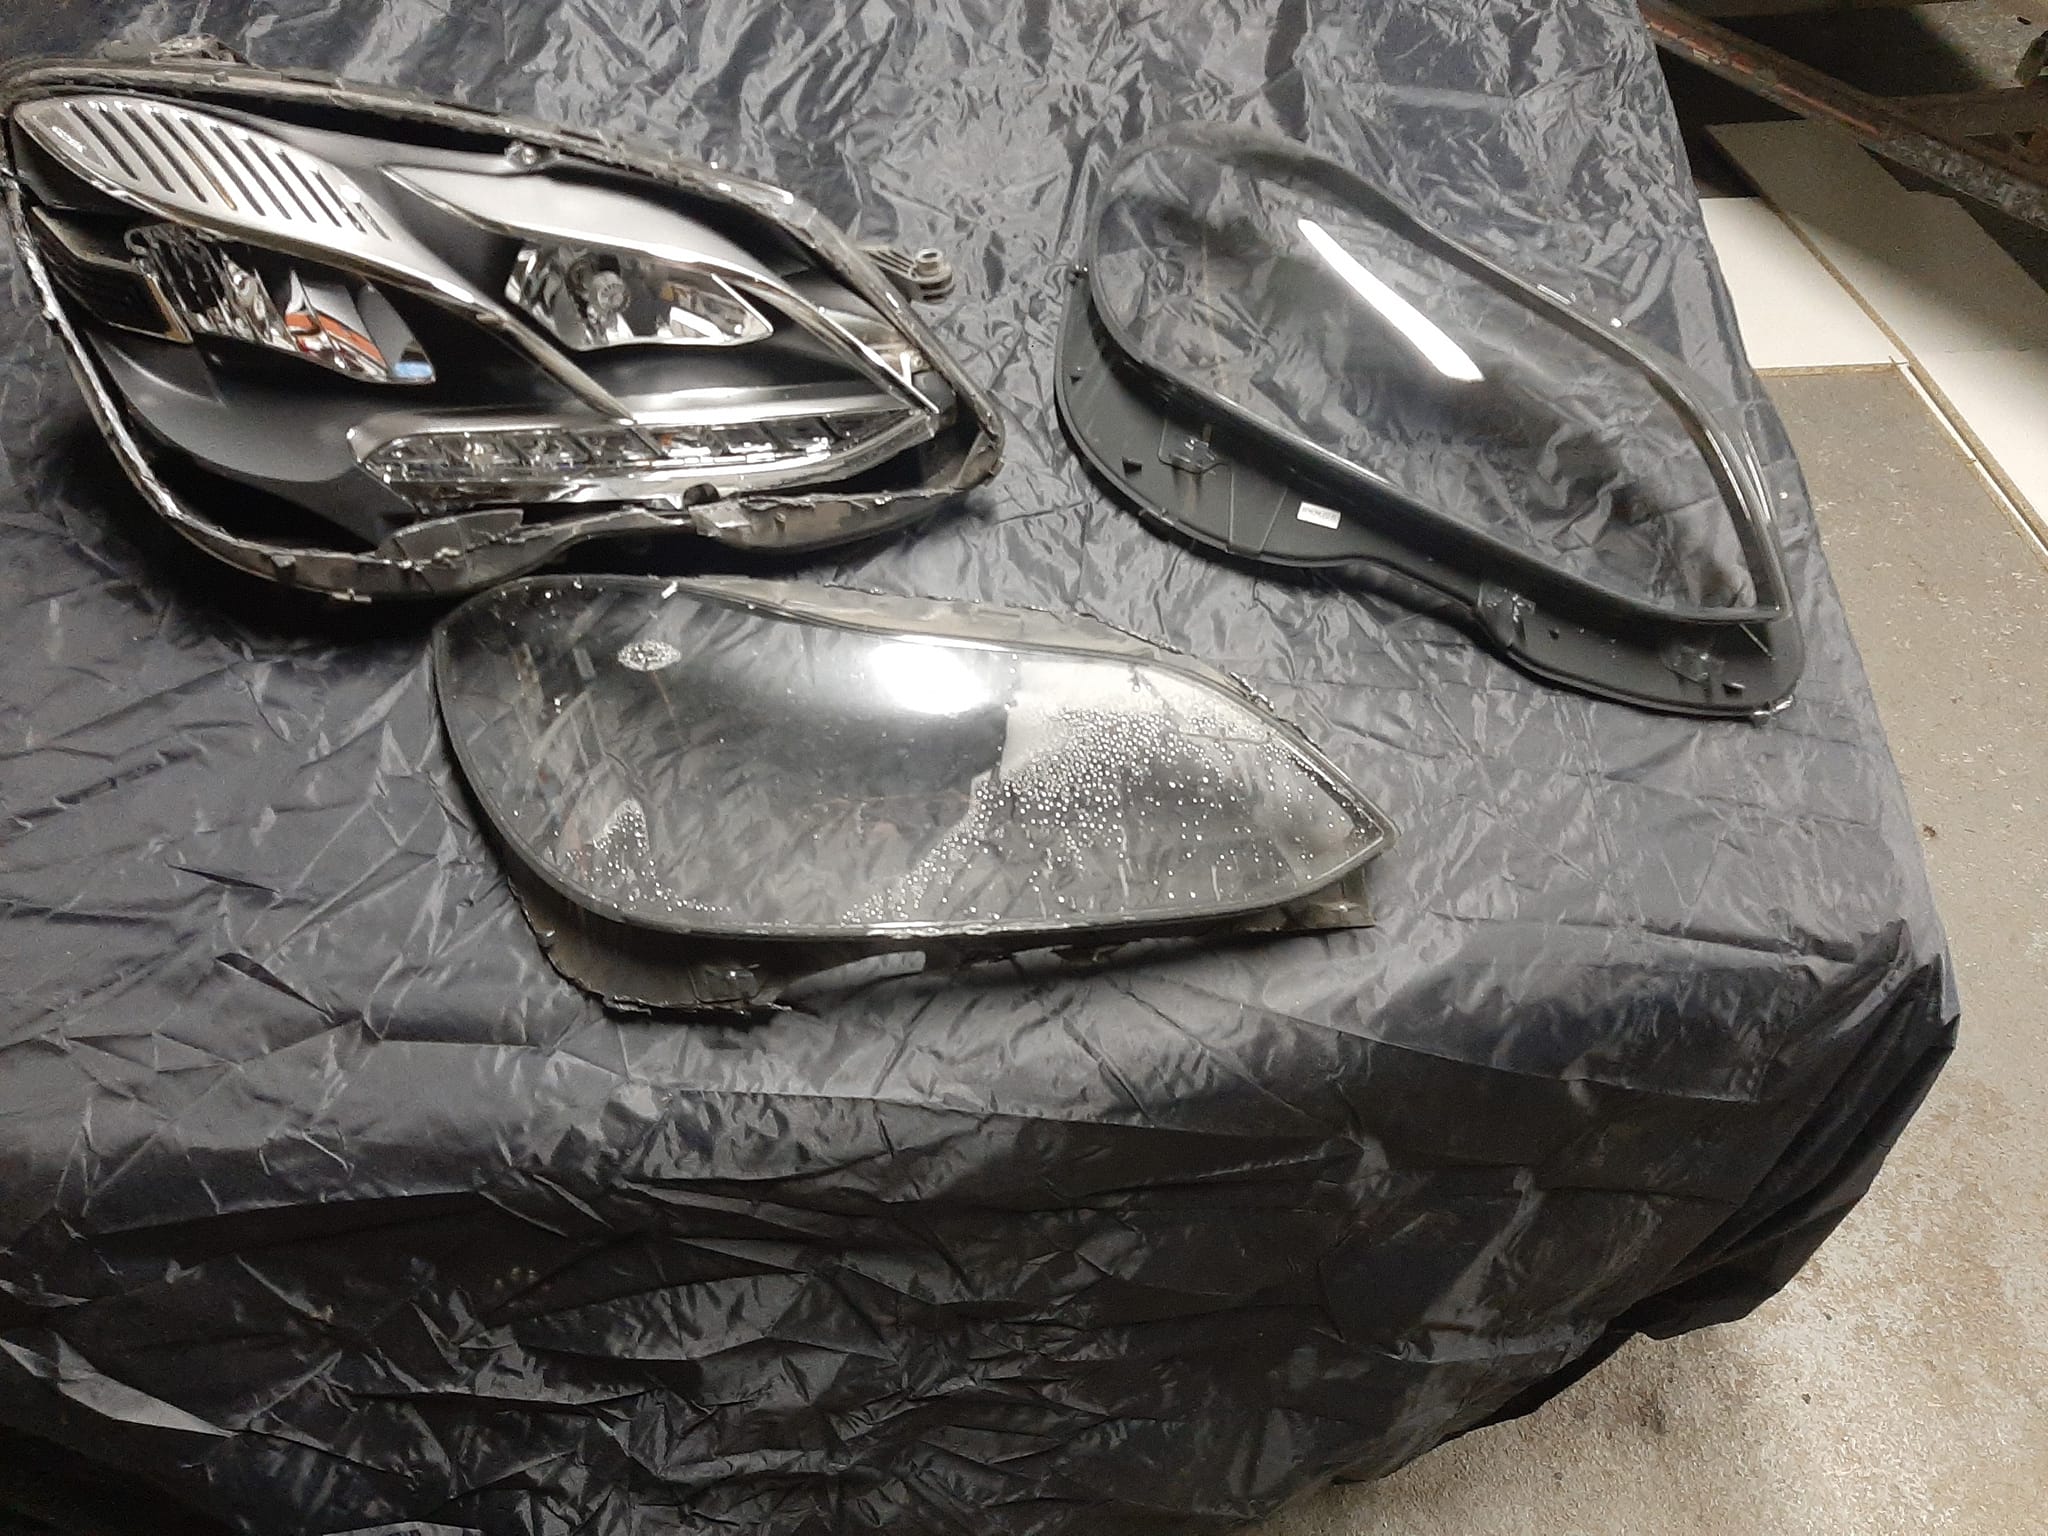
The headlamp lens is sealed onto the unit with a permanent seal. On this unit, it was attempted to heat the unit up to soften the sealant however it didn’t seem to budge. The other route to remove the lens was to cut it off with a dremel type tool;
Although we don’t have any pictures of the process, the main part of the lens was removed and then, carefully the remainder of the lens and sealant onto the unit was removed. There is one pic below of the unit with the lens removed so you see what we are trying to achieve.
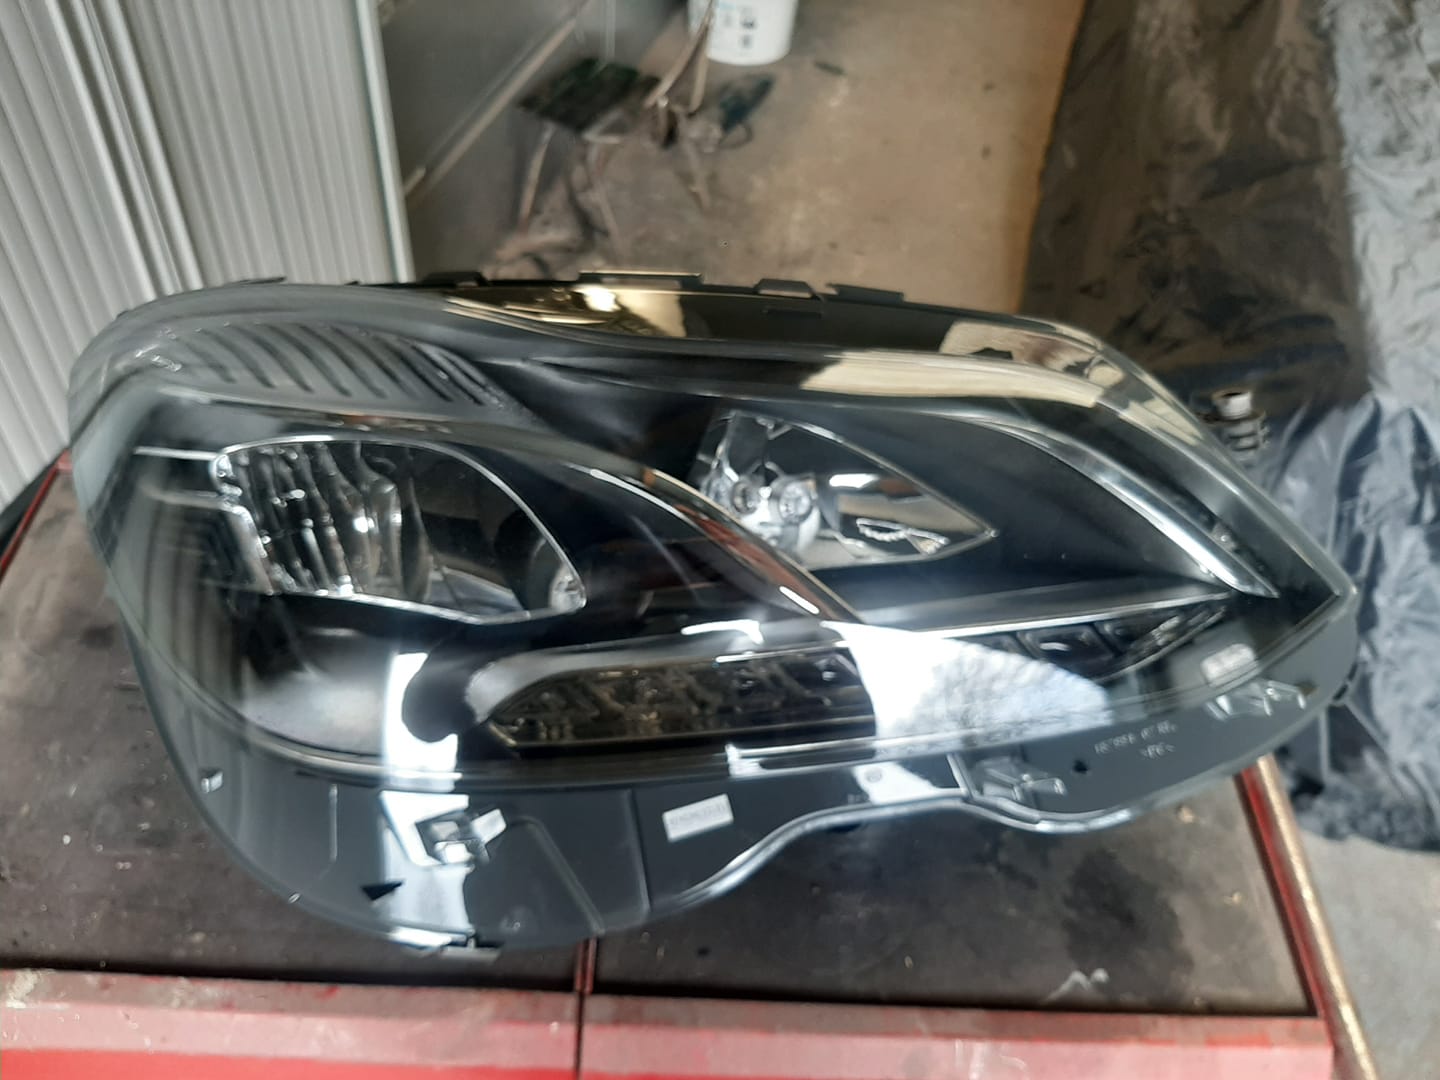
Test fit the lens carefully and make sure your happy that you have all of the old sealant / lens removed, before committing to sealing it back on.
For sealant, Tigerseal was used. In the factory when a lamp is built its likely that a hot melted plastics glue it used, that is specifically designed to seal and have flexibility. We don’t have this luxury and will have to make do!
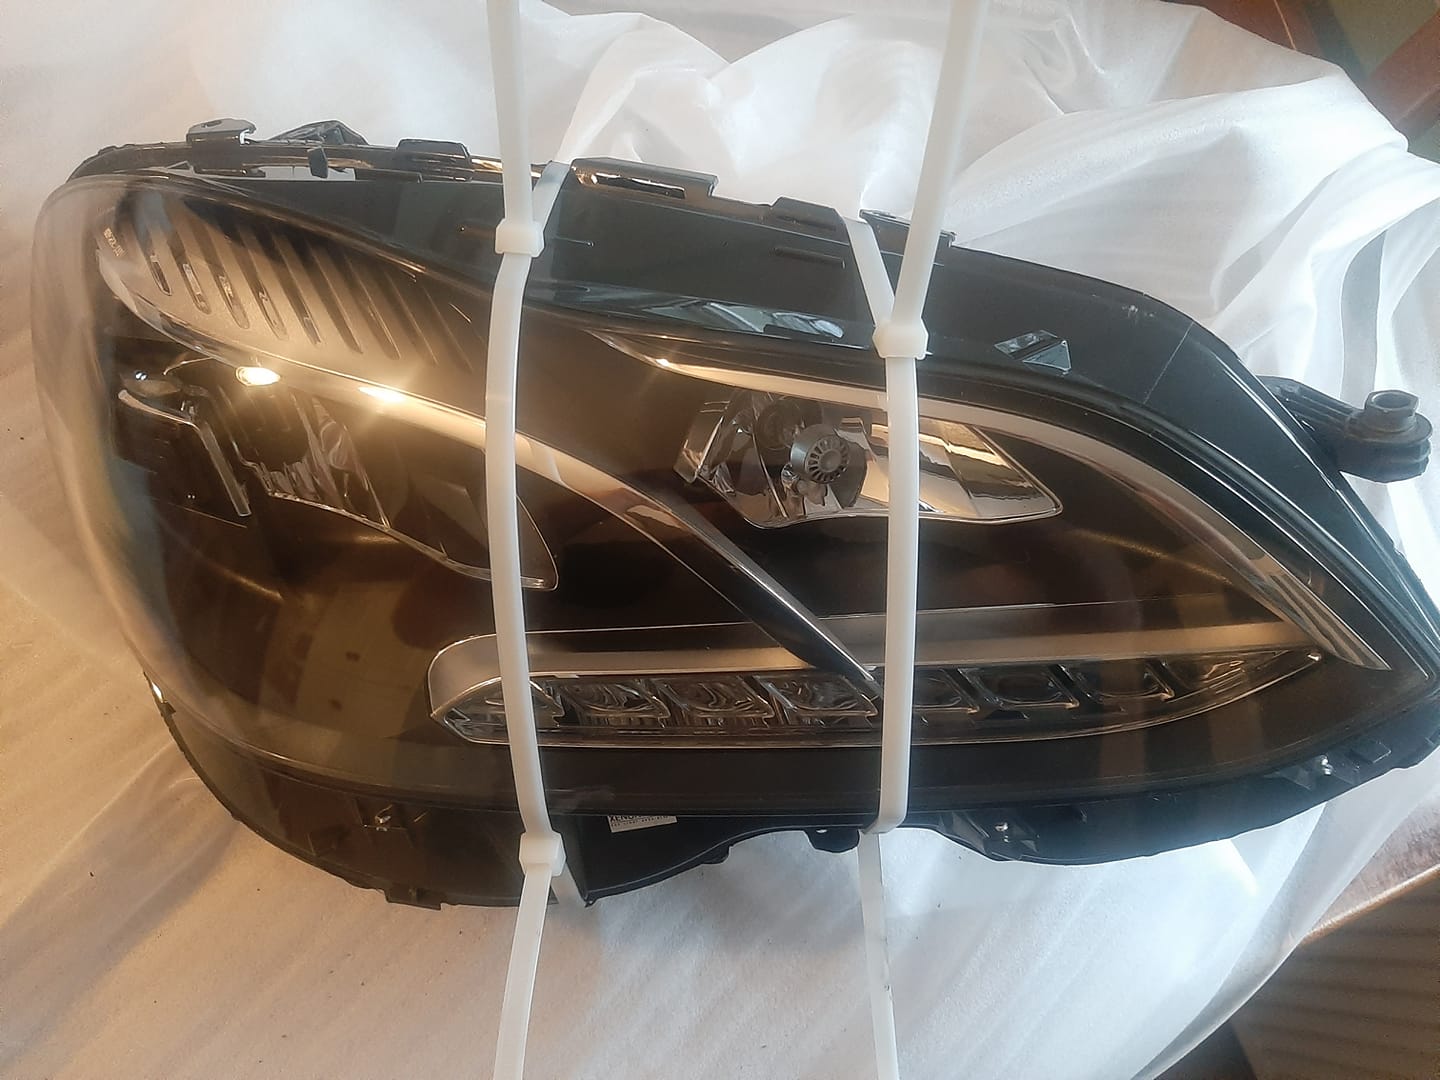
Use cable ties to hold the lens to the unit whilst it cures. Follow your sealants guidelines for times on how long your sealant takes to cure, definitely leave for at least 24 hours.
Refit your headlamp and admire your work!


Views: 278