Looking for OM651 W212 Parts? Check Ultimate W212 OM651 Part Numbers List With Images
Big shout out to ‘Jeff Z Pan‘ for letting me use this write up and pictures. His own words follow. All his pictures at the bottom of the page. I will list a few Mercedes part numbers for reference at the end too.
Disclaimer:
This post is NOT an instruction.This post is only to share my experience.
You should always seek advice from an automotive professional.
Background information:
2012 Mercedes S212 estate with air suspension on the rear axle without adaptive damping control.
The car is E350 CDI but shares identical parts across the 212 platform.
The car has done 223000 miles mainly in the UK.
The car has full Mercedes + Mercedes specialist service history.
Symptoms:
About three month ago, when it’s very cold, the rear drops together overnight. Then it becomes more frequent, will drop like 5mm per hour. The compressor still kicks in to rise the car and it will be find throughout any journey.
The story:
I did a lot research online, YouTube, FaceBook, forums as well as speak to Mercedes main dealers and specialists. The conclusion is it could be anything or everything. So I am back to square one.
It is clear there must be a leak (or leaks) somewhere in the system. The hardest part is to find it. Unfortunately in my case the soapy water I made did not show any leak around the compressor, pressure lines, fittings and around the bags. The conclusion is there must be a micro leak, or micro fracture somewhere.
With main dealer rate at £110+VAT per hour and local independent not far off, I decided to take matters in my own hands.
The investigation:
This probably the most time consuming part of the whole process, is to find what is faulty.
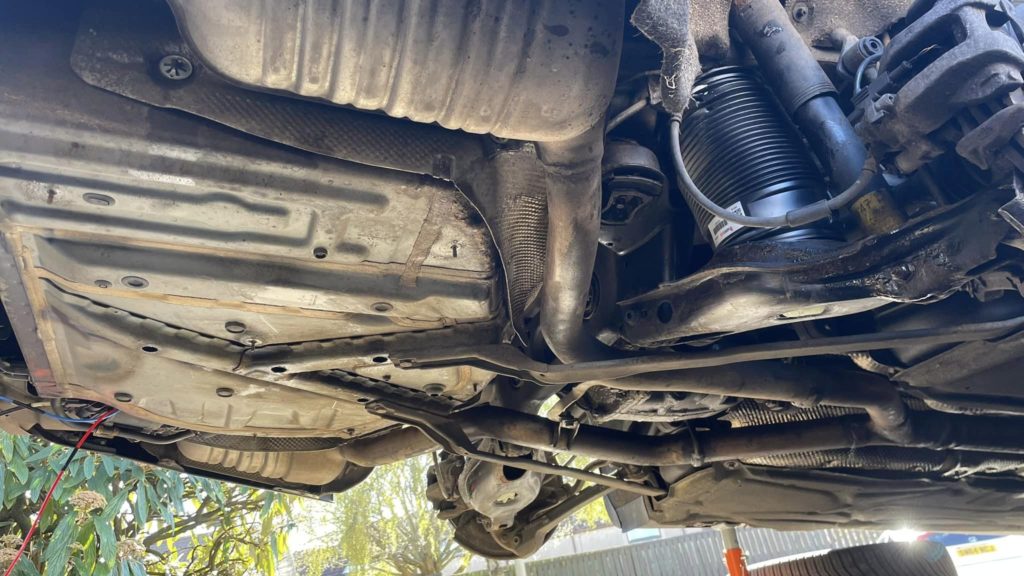
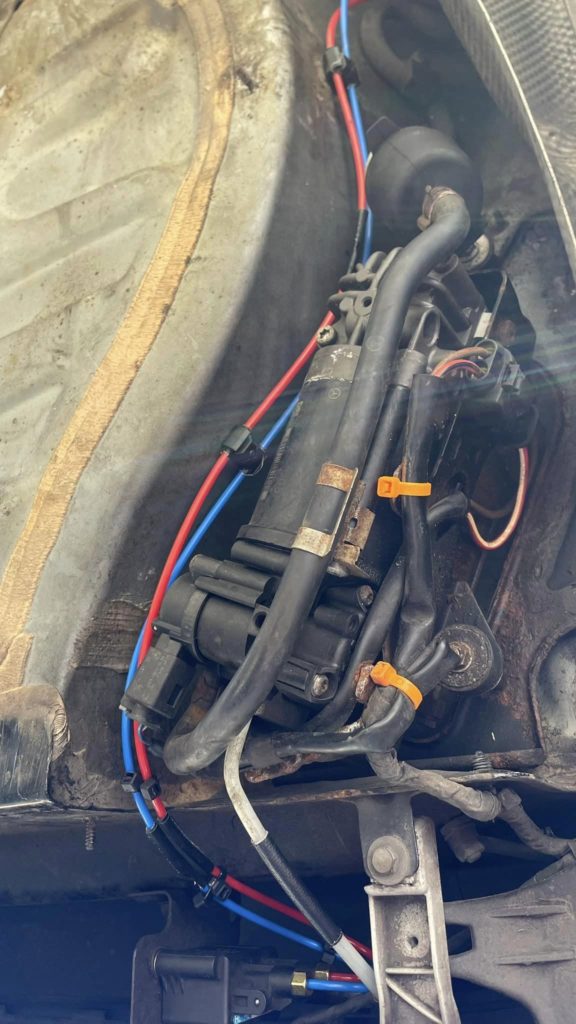
My soapy water test did not show anything previously and it was very difficult to see when the air spring and lines were on the car, as most of the pressure line to the right air spring are hidden behind exhaust heat shields.
To get to the bottom of it, and not to do the job more than once, I decided to remove both air spring and the pressure lines off the chassis.
By the book you should use Mercedes diagnostic system to release the pressure from the system before carry out any work on the pressured system, I just use common sense and slowly loosen the fittings at the valve block. Just before I release all the pressure, I unscrewed the bigger pressure line at the pump end and dipped that end into soapy water, waited five minutes there is no sign of air leaking from the valve under the pressure from the bags. So I think valve units is unlikely the cause of the leak.
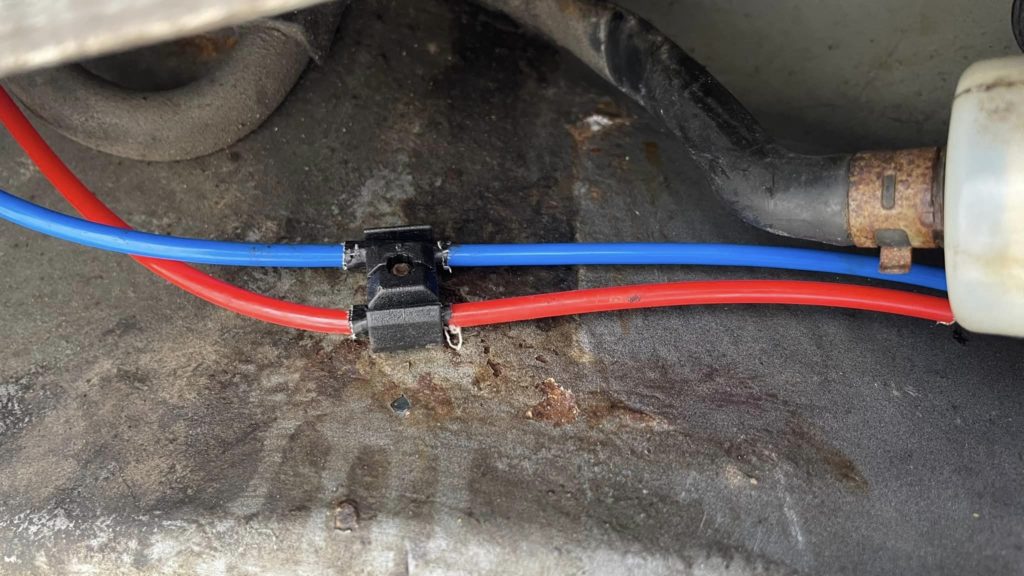
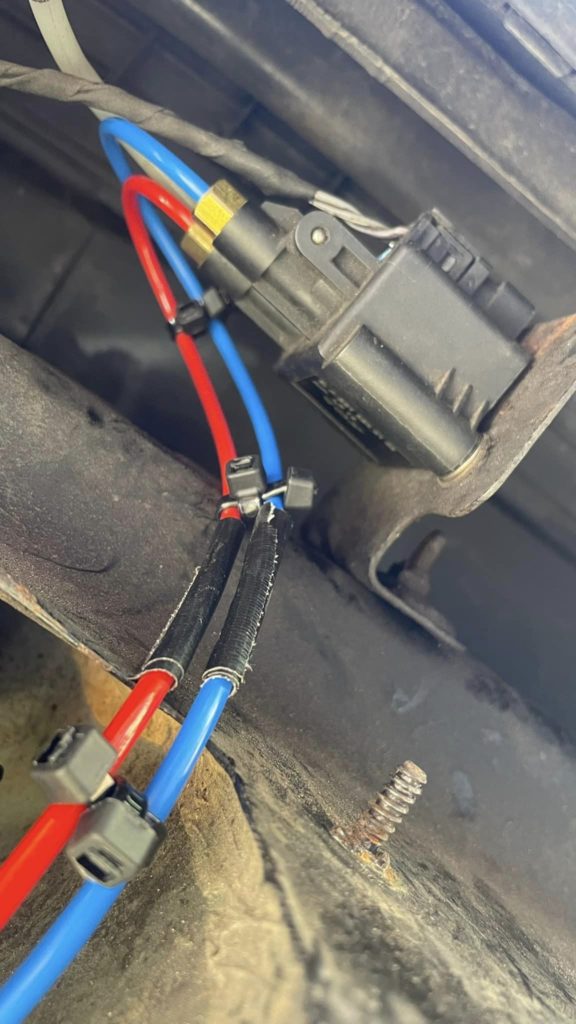
When the pressure is gone, I started to un-route the pressure lines from its cable ties, I later decided to replace those factory zip clips with universal brake pipe retaining clips and some zip tie tricks I learnt over the years. This is to keep the pressure lines from rubbing with each other and help them stay in place.
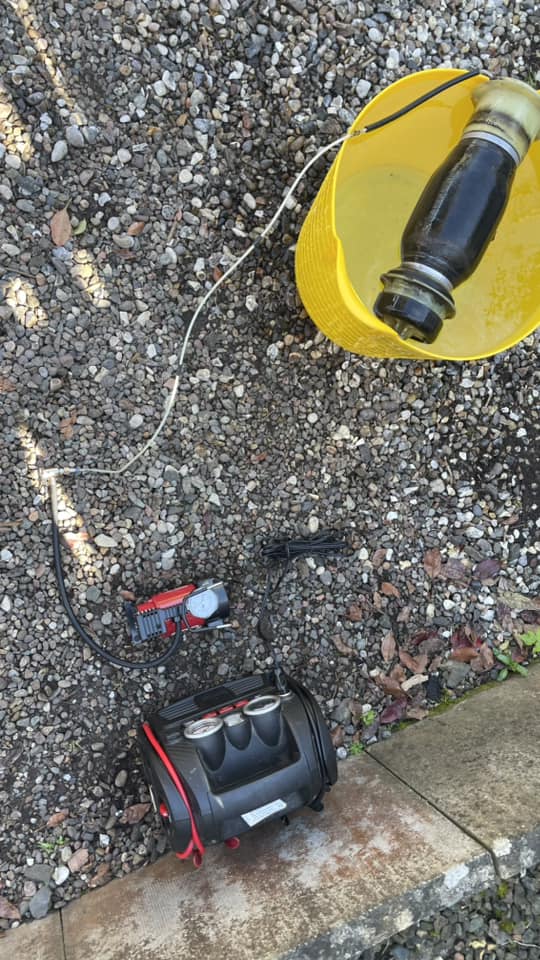
To remove the air spring is easy if you know what to do. When the pressure in the air spring is gone, the rear suspension retract to a position you probably will struggle a lot to get the bags out. I did not have a helper so I put one wheel nut back into the hub, put on the 17mm deep socket and use a metal tube (conveniently the one from my jack fits) to extend the leverage. I just sat on it and removed the bags with ease.
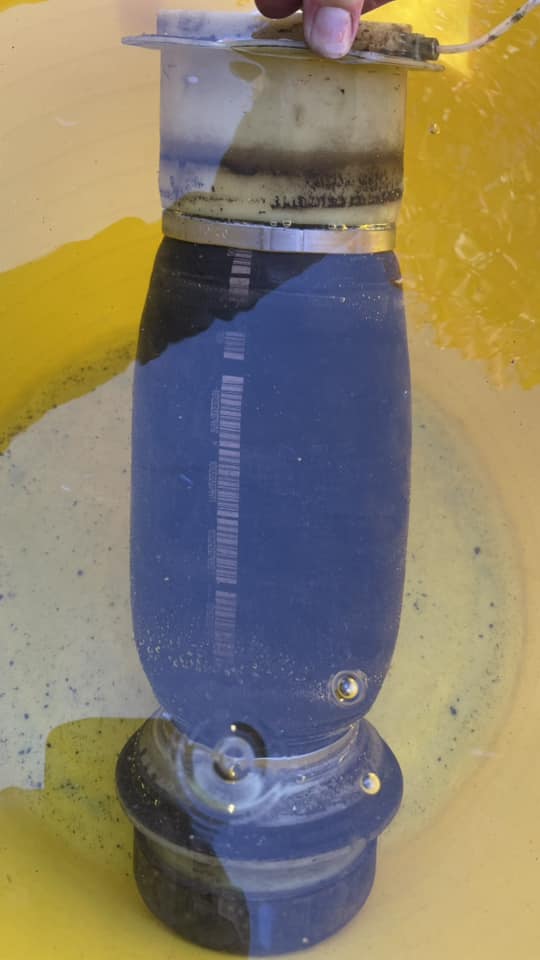
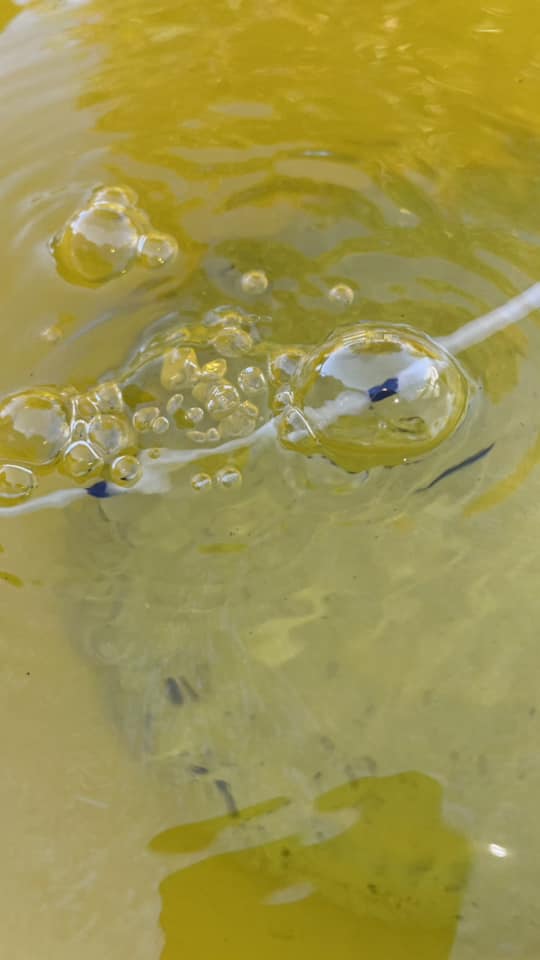
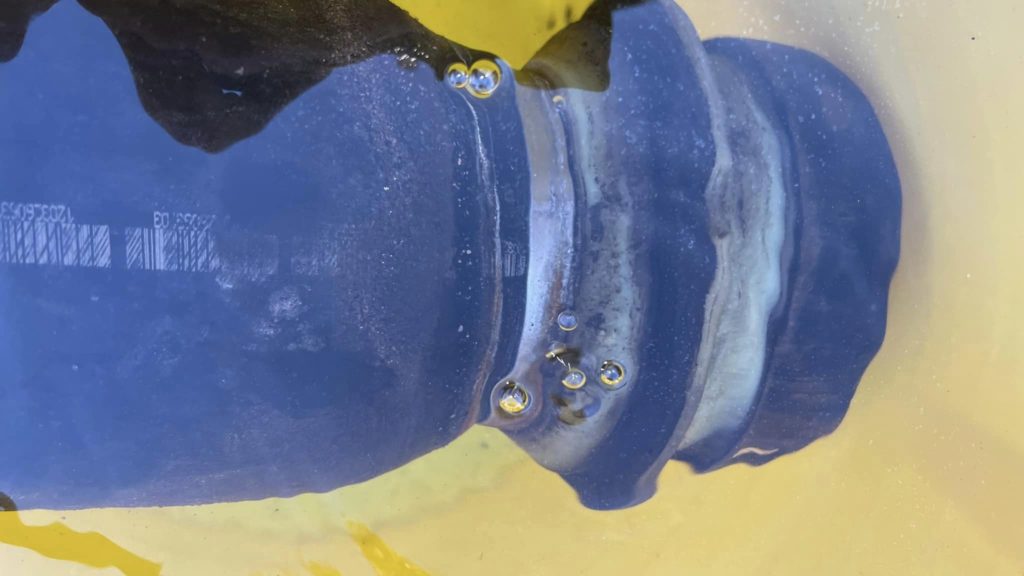
With the bags and lines attached and dipped in a bucket of water, I found the leaks in no time. Both bags and the line are leaking. The pressure line to the right has a microfracture. Both air bags are leaking from the crimp rings. The leaks mainly concentrated at the bottom crimps and exactly where the rust is.
Reinstall with new air springs and new lines are easy just in reverse order. One trick is to prime the system with some pressure to inflate the air spring that it clips in at the top and secured with the retaining plugs. I also tested the system for leaks with soapy water again to ensure no leak at the fittings.
While the car is off the ground, I also took the opportunity to top-up/reapply lanolin based fluid film in certain areas that normally difficult to access. The whole job took me 8 hours in total, but I was doing it at a really slow pace with plenty of coffee, biscuits and distraction by neighbour’s cat. The actual time spent on replacing air springs and pressure lines probably is three hours.
Finally, 10 hours after putting everything back, with the car parked on relatively level ground, locked and undisturbed, it was measured a total 2mm drop (over the 10 hours). According to w220.wiki site, the allowed drop is 2mm per hour. So it is fixed now.
Tools you need:
- A good steady car jack, ideally low profile one as you need to jack with a wood under the differential. It is not safe just rely on single jack in the middle but to use jack stands.
- A good steady car jack stands to keep you safe, always put the wheels under the car to provide redundancy in case of jack or stands fail.A 17mm deep socket to remove your wheels. It will be handy to have an impact gun but this is not essential.
- 10mm spanner (thin spanner or difficult access socket with side opening if you have one)
- Stanly blade to cut nylon pressure lines.
- Hammer with some weight, you need this to knock the old air springs out.
Parts you need:
Well, this depends on the investigation and individual circumstances, as said, it could be anything or everything. In my case, I need two air springs, pressure lines and fittings.
For air springs I decided to go for Aerosus as their air springs for my make and model were on sales.
For pressure lines, the OD is 4mm and the ID is 2.5mm. You need Nylon pressure tubes (Polyamide in fancy terms) complaint with PA 11-PHL or PA 12-PHL for the connector and DIN 73378 or DIN 74324 as well as ISO 7628 standards. These are here to ensure the tubing is up for the job of pressurised air system, automotive environment as wells as its thermoplastic requirements.
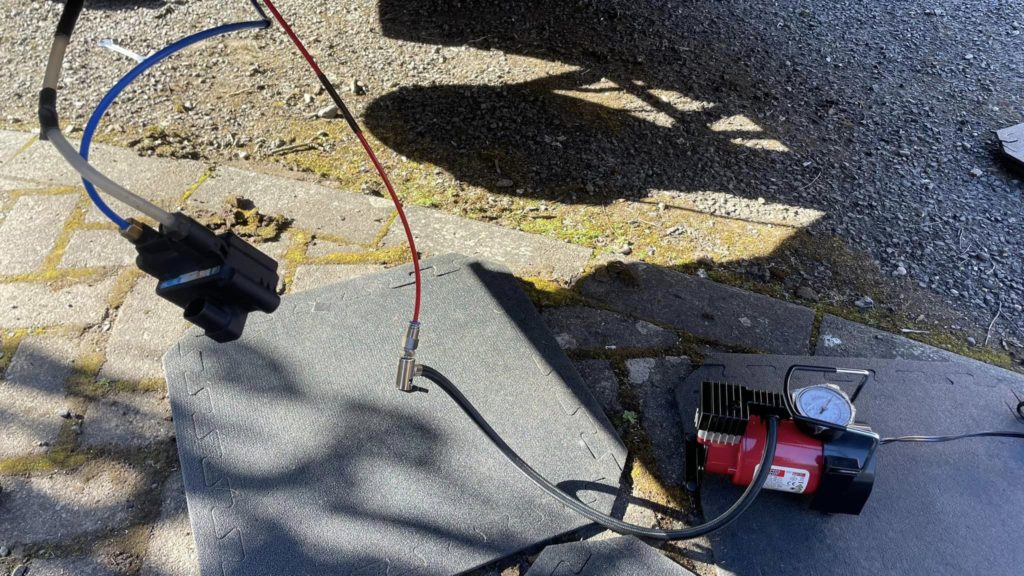
The length for left is one meter and right is two meters, it make little difference in price if so I bought four meters each total eight meters in case I messed it up. I decided to use blue for left and red for right. You can use the standard white ones but I prefer the coloured ones. My previous BMW F11 uses blue for left and red for right so I just carried on with this colour scheme.
For the fittings, I would recommend to use genuine VOSS Quick Connect System 203. Thread size is M8x1. (Mercedes doesn’t make them, they buy from VOSS, and so does their fuel return line nozzle. I think the return nozzle on the diesel injector is VOSS Quick Connect System 249LB but I could be wrong.) The VOSS fitting has three o-rings, two internally and one outside, there is also a grip ring with an opening.
The VOSS fittings are not designed to be reused again with fresh tubes. If new pressure line is needed then new fittings must be used together with new tube.
The torque setting for the fitting of M8 size is 5+1Nm. The length to push in the connector is 17+-1mm, you can mark the position with a permanent marker (as VOSS suggested) or I just used tape.
Finally, I hope this post can be helpful to someone.
Thanks again to Jeff! Also would like to add, check the wiring going to the compressor and valve block. Have seen many corrode inside the wires!
A few MB part numbers for reference;
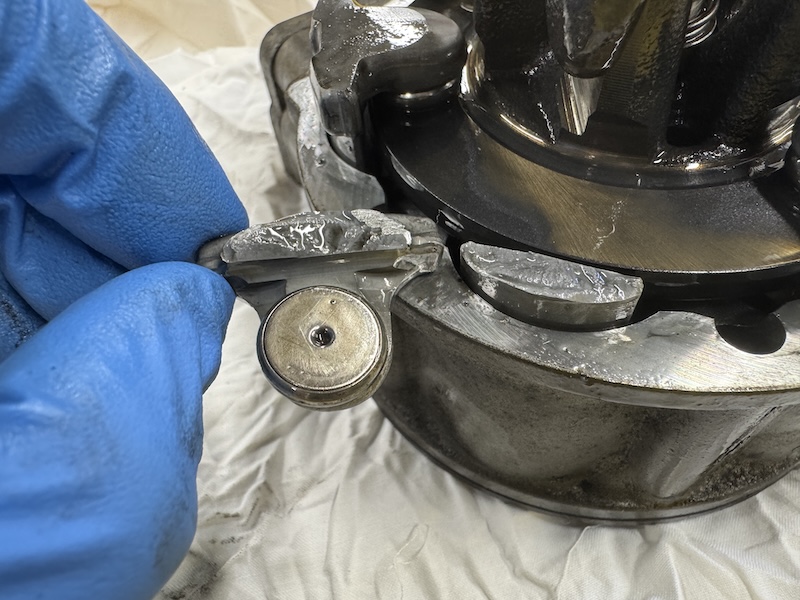
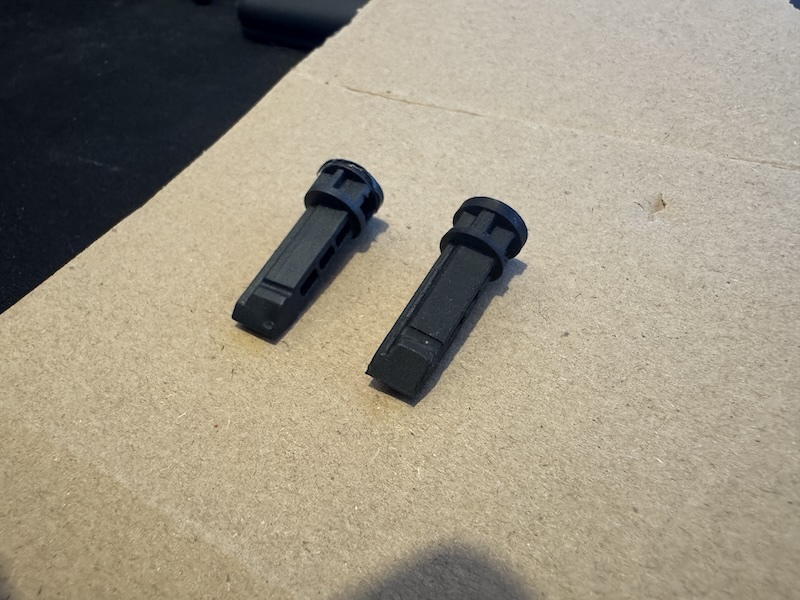
– A0019911171 – Clip that holds air spring to body (normally break every time removed)
– A2123202125 – Left rear air spring
– A2123202025 – Right rear air spring
– A0003270069 – Air line connection fitting to air spring
– A0003270169 – Air line connector (connects air line to air line for repairs)
– A2213280065 – Air line connection fitting to compressor / valve block
– A2123200169 – Compressor air filter
– A2129970452 – Air intake pipe from compressor to air filter
– A2129970752 – Air intake pipe from air filter to wheel arch
– A2123200143 – Bracket for air compressor
– A2113270430 – Rubber buffer mount for compressor
– A0525453826 – Plug housing for compressor wiring plug
– A2123200758 – Air suspension valve block
.
.
.
.
.
.
.
.
.
Views: 661